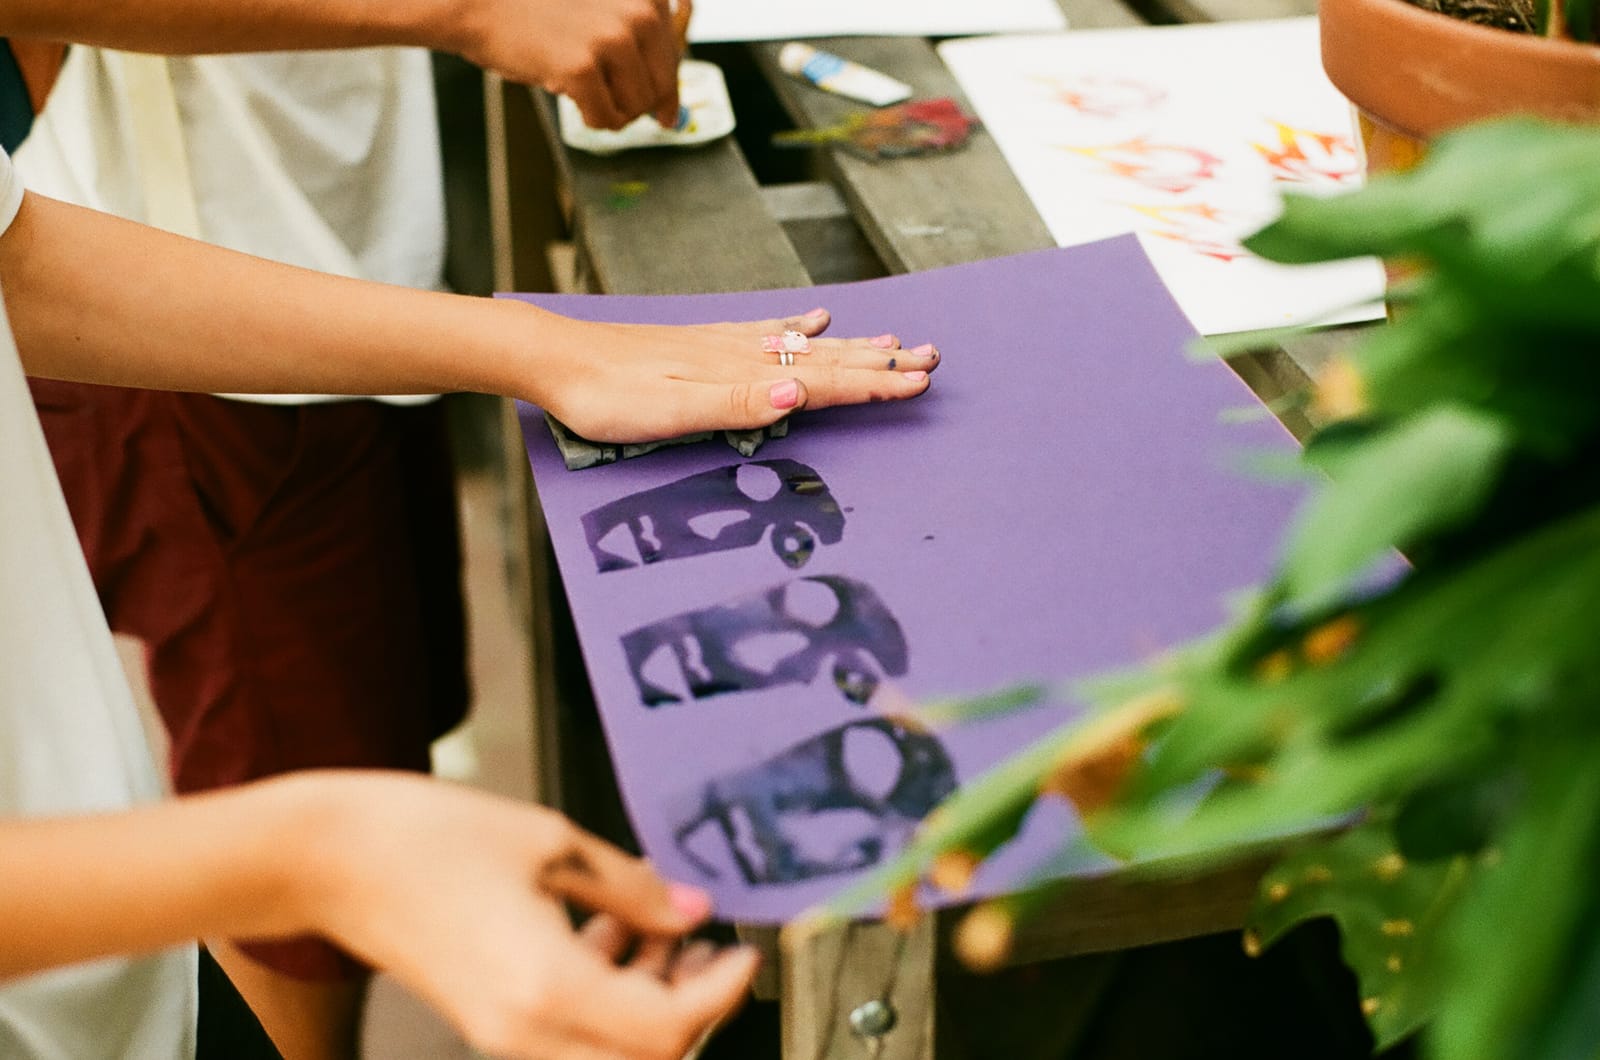
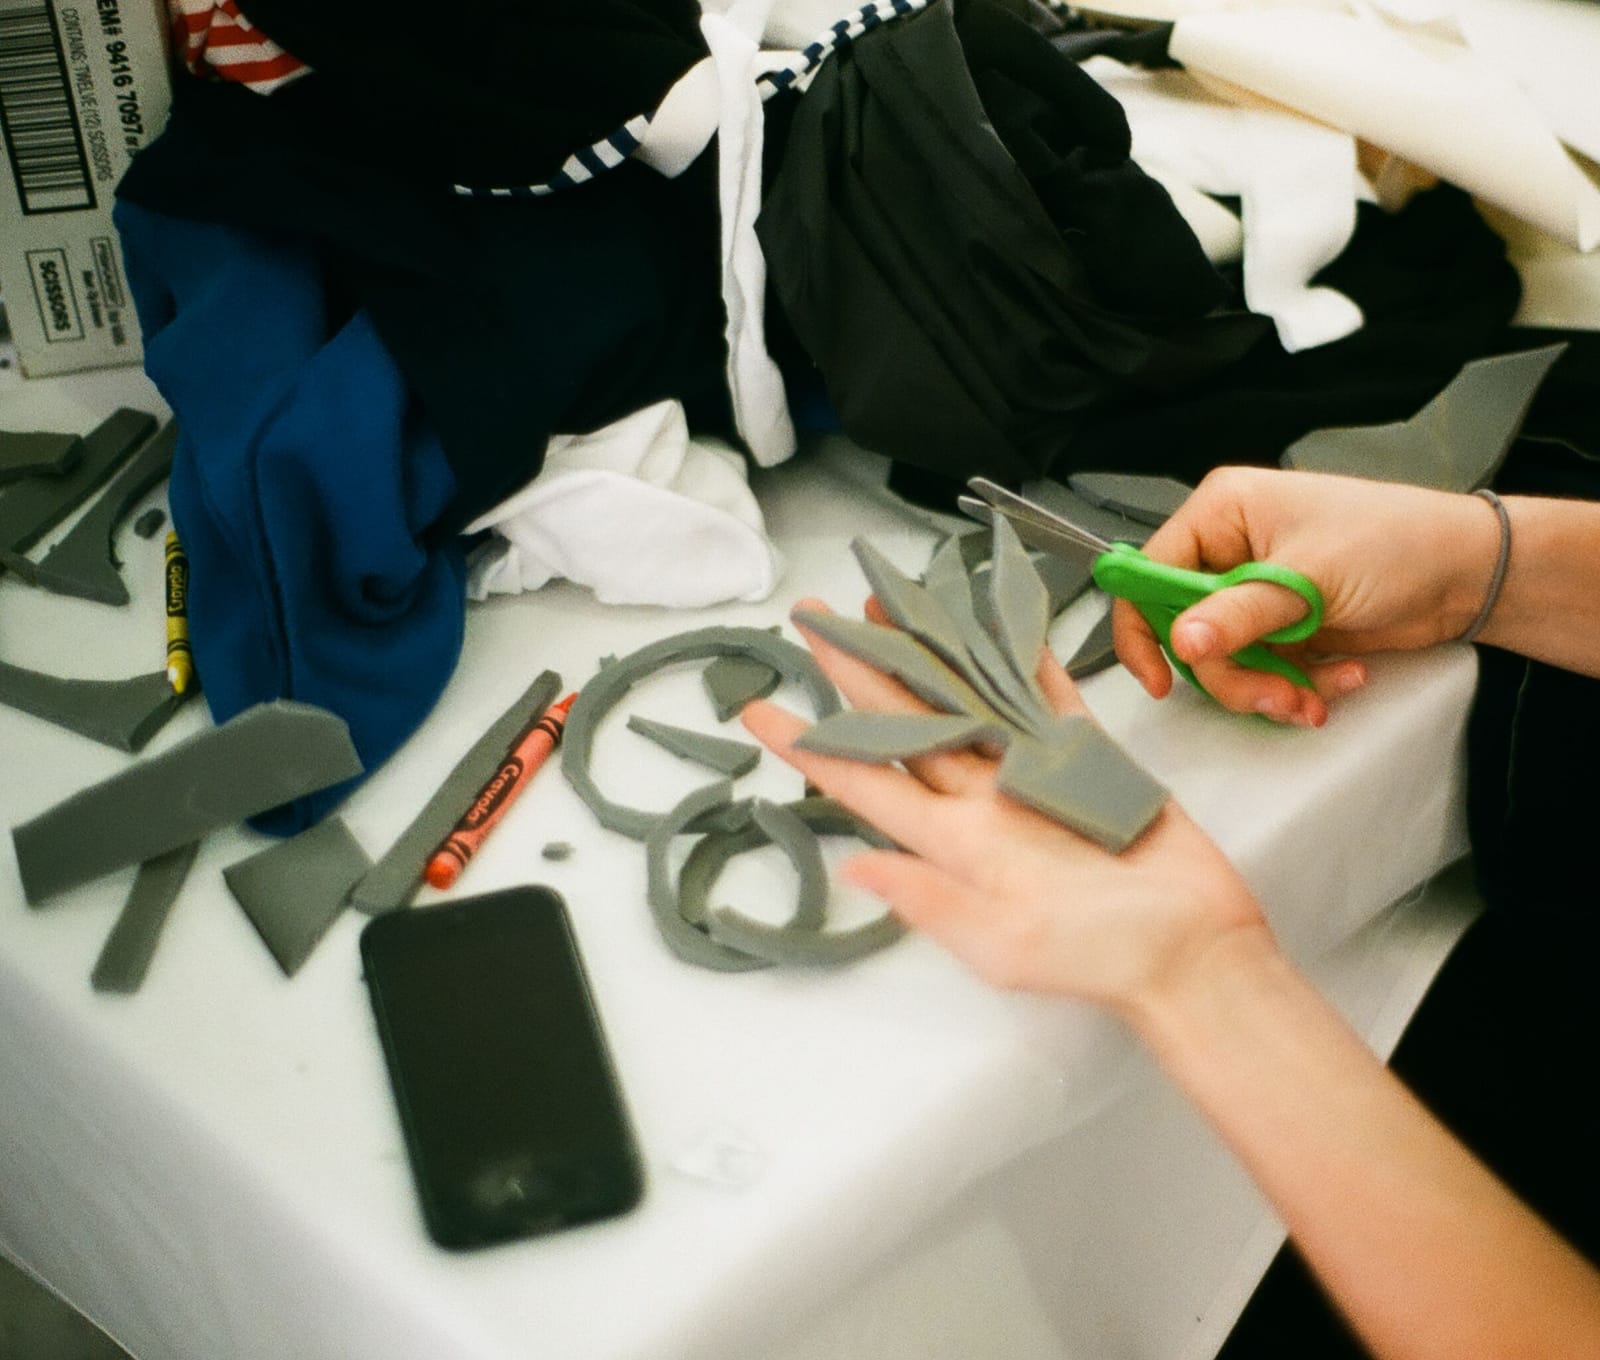
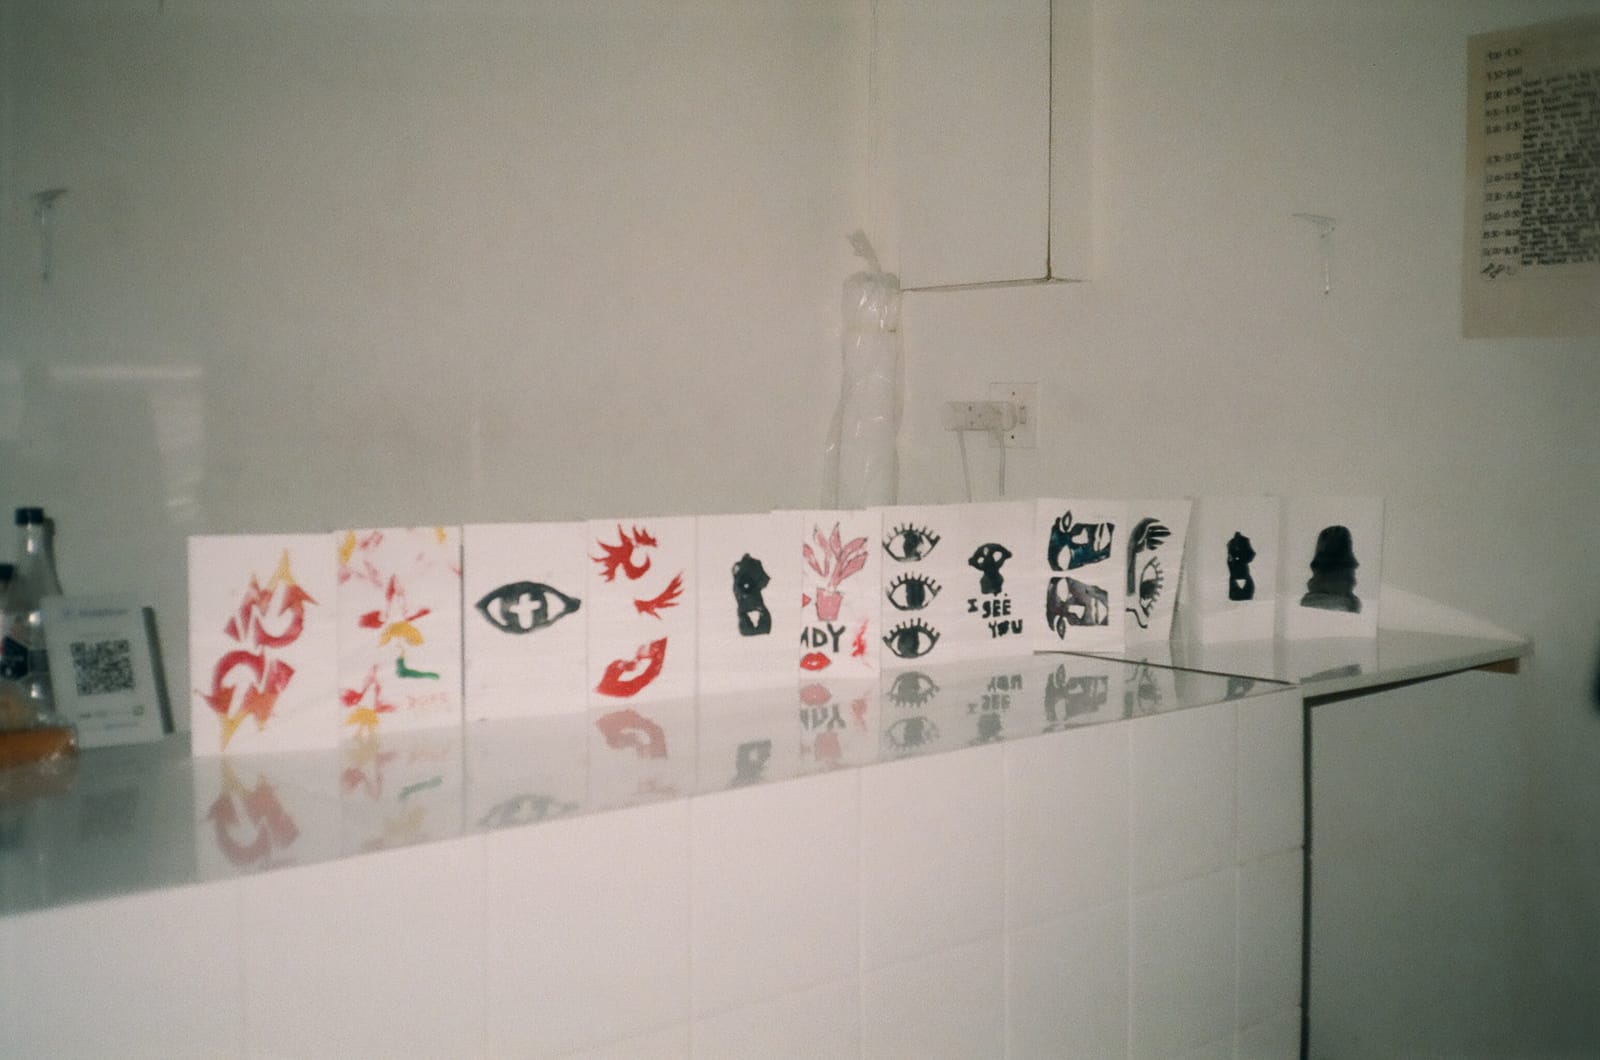
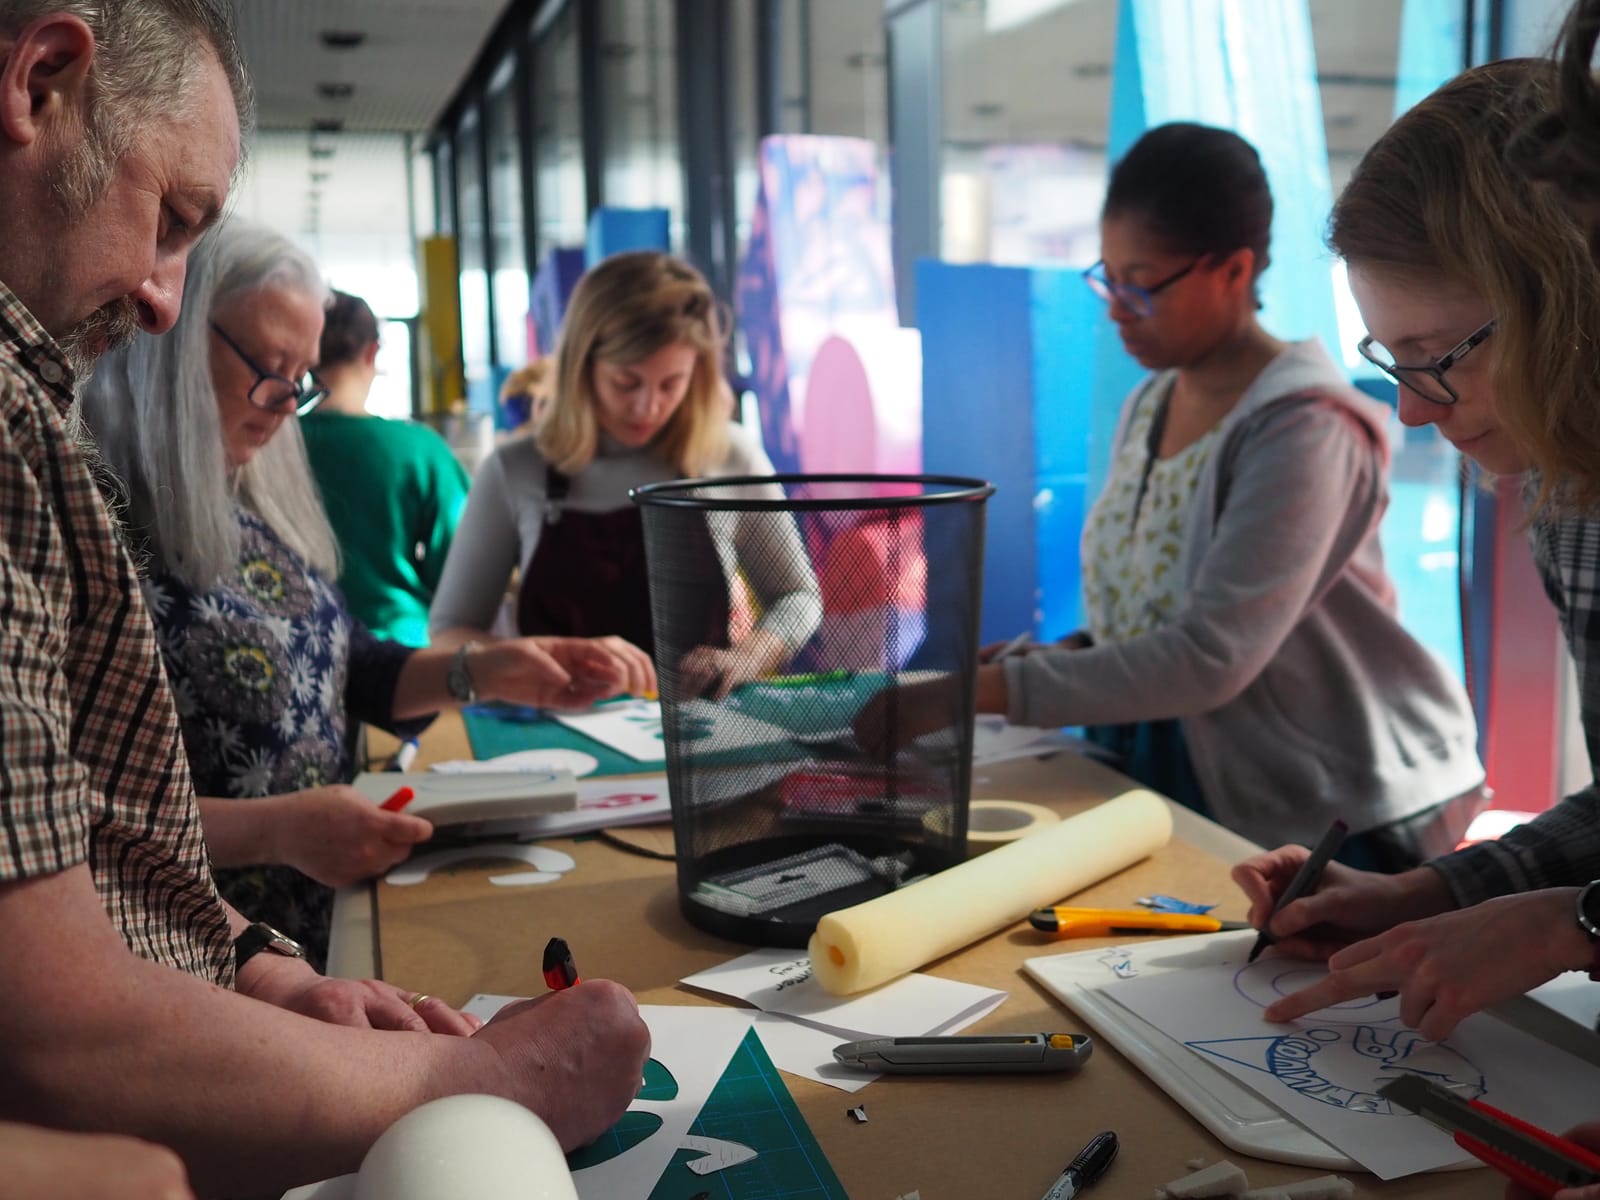
The tactile nature of these workshops lies in the hands-on interaction with materials—cutting foam, applying ink, and pressing surfaces manually.
Participants physically engage with every step, feeling the textures and resistance of the materials, which deepens their connection to the creative process.
This sensory involvement enhances focus and presence, making the act of making art more immediate and tangible.
Read more
Atelier overview
The atelier is a space for collaborative exploration, where each project opens up new possibilities. It engages with art institutions—both academic and commercial—to create works that blend creativity with a methodical, research-driven approach.
Process
The process is interactive, emphasizing dialogue and exchange at every stage. The atelier believes that collaboration enriches every aspect of creation, allowing ideas to evolve through shared expertise. From concept development to final realization, each step is shaped by the contributions of its partners.
Vision
The atelier views each project as an opportunity to push boundaries, exploring the intersection of art, science, and community engagement. By working together, it aims to produce outcomes that are as thoughtful as they are innovative, leaving space for the unexpected to emerge.
Collaboration
The atelier is open to those who share its passion for co-creation. Whether on the street, or with a cultural event, it prioritizes building lasting relationships that focus on the exchange of ideas rather than predefined outcomes. Each collaboration is an opportunity to develop new perspectives together.
About 45 minutes, plus drying time. For ages 6 and up, with an adult for the knife.
A stamp is a mark that says “this is mine”. Around 3500 BCE in Sumer, people rolled carved cylinder seals into clay tablets to keep records. Romans and Egyptians pressed signet rings into wax to sign letters and contracts. In 1866 the rubber stamp was patented, and stamps moved into every office and classroom.
Making your own stamp brings that idea back to its simplest form: you draw a sign, cut it, and earn the right to print it as yours. The icon you choose is never neutral, and a good symbol can travel across languages without translation.
Foam is the friendliest way to start. It’s recycled, it cuts with scissors, and it doesn’t break. You can find it in packaging, old cushions and sponges, in the city or the countryside.
You will need
What
For
Where from
Foam, recycled (packaging, old cushions, sponges)
The stamp itself
Found, so give yourself time to collect it
Paper, a pencil and a marker
Drawing your sign and tracing it onto the foam
Found or bought
Scissors (fabric scissors cut best); a craft knife and cutting mat for adults
Cutting the shape
Found or bought
Cardboard or a wood offcut
The backing you hold
Found
Glue (strong glue or a hot-glue gun)
Fixing the foam to the backing
Bought
Paint or ink, a tray, a palette knife or brush
Printing
Bought
A tray of water
Dampening the foam
Found
Something to print on: paper, cotton, old fabric, found objects
The print
Found or bought
Old newspaper or plastic sheeting
Protecting the table
Found
Optional: fabric softener (helps paint print on fabric) and gum arabic (a binder if you use natural pigments on paper).
Steps
1
Choose your sign. Think of a symbol that stands for you, or for a theme you’re printing together: a garden, the sea, a festival. Draw it on paper. Keep it bold, with thick lines and few details, because foam doesn’t hold fine lines.
2
Remember it prints backwards. Whatever you cut comes out mirrored. Letters and numbers need to be drawn back to front. Hold your drawing up to a window and trace it from the other side to check.
3
Make a paper stencil. Cut your drawing out. Now you can see the shape alone and change it before you touch the foam.
4
Trace onto the foam. Lay the stencil on the foam and draw around it with a marker.
5
Cut it out. Cut the outline with scissors. An adult can cut inside shapes (eyes, holes, letters) with a craft knife on a cutting mat.
6
Mount your stamp. Glue the foam onto a piece of cardboard or wood, so you have something to hold and the pressure spreads evenly. Then set up your printing table: cover it, and put a hard, flat surface under whatever you print on.
7
Dampen the foam. Dip the stamp in a tray of water and squeeze it out. Damp foam takes paint evenly and lasts longer.
8
Paint and test. Spread a thin layer of paint on your tray with a palette knife and press the stamp into it, or brush the paint on. Press firmly onto scrap paper, then lift straight up. Too blotchy means too much paint; too pale means press harder or add a little more.
9
Print. Repeat your sign, turn it, overlap it, change colours. Try paper, fabric or a found object. Printing with others? Stamp onto one big shared surface and watch the signs start talking to each other.
10
Let it dry, then clean up. Hang prints on paper or fabric somewhere they won’t be disturbed until they’re completely dry. Wash the stamp and keep the colours’ waste separate. Keep the stamp damp to use it again soon, or let it dry fully on a surface it won’t stick to.
Top tips
Fewer colours, stronger print. A small palette of two or three colours makes a page of different stamps look like it belongs together.
Simple shapes read from far away. If you can recognise your sign as a silhouette, it will print well.
Collect foam early. Set up a box where people can drop off packaging foam a week before you print. Clean found foam with a natural disinfectant first.
On fabric, add a little fabric softener to the paint, and put a hard board under the fabric when you press.
On paper with natural pigments, mix them with a little gum arabic so they stick.
Look for signs everywhere. Road signs, logos, emojis and family crests are all stamps of a kind. Collect a few before you draw.
2015
Summer Camp
Invited by Queezy Babas to facilitate an experimental printmaking workshop at "Summer Camp", an event created by Cape Town creatives and hosted at the Corner Store, which was free for the youth to participate in.
Analogue photographic documentation: Sarah Hugo-Hamman
2018
Counter Point
Experimental printmaking workshop. The Counter Play festival was an opportunity to share this atelier with a group that had diverse printmaking experience. In this atelier, participants were tasked with redesigning the festival’s logo in a playful and creative way, experimenting with different techniques and approaches.
The goal was to design a logo that captured the essence of playfulness, encouraging participants to draw on both their personal experiences and the core values of the festival.
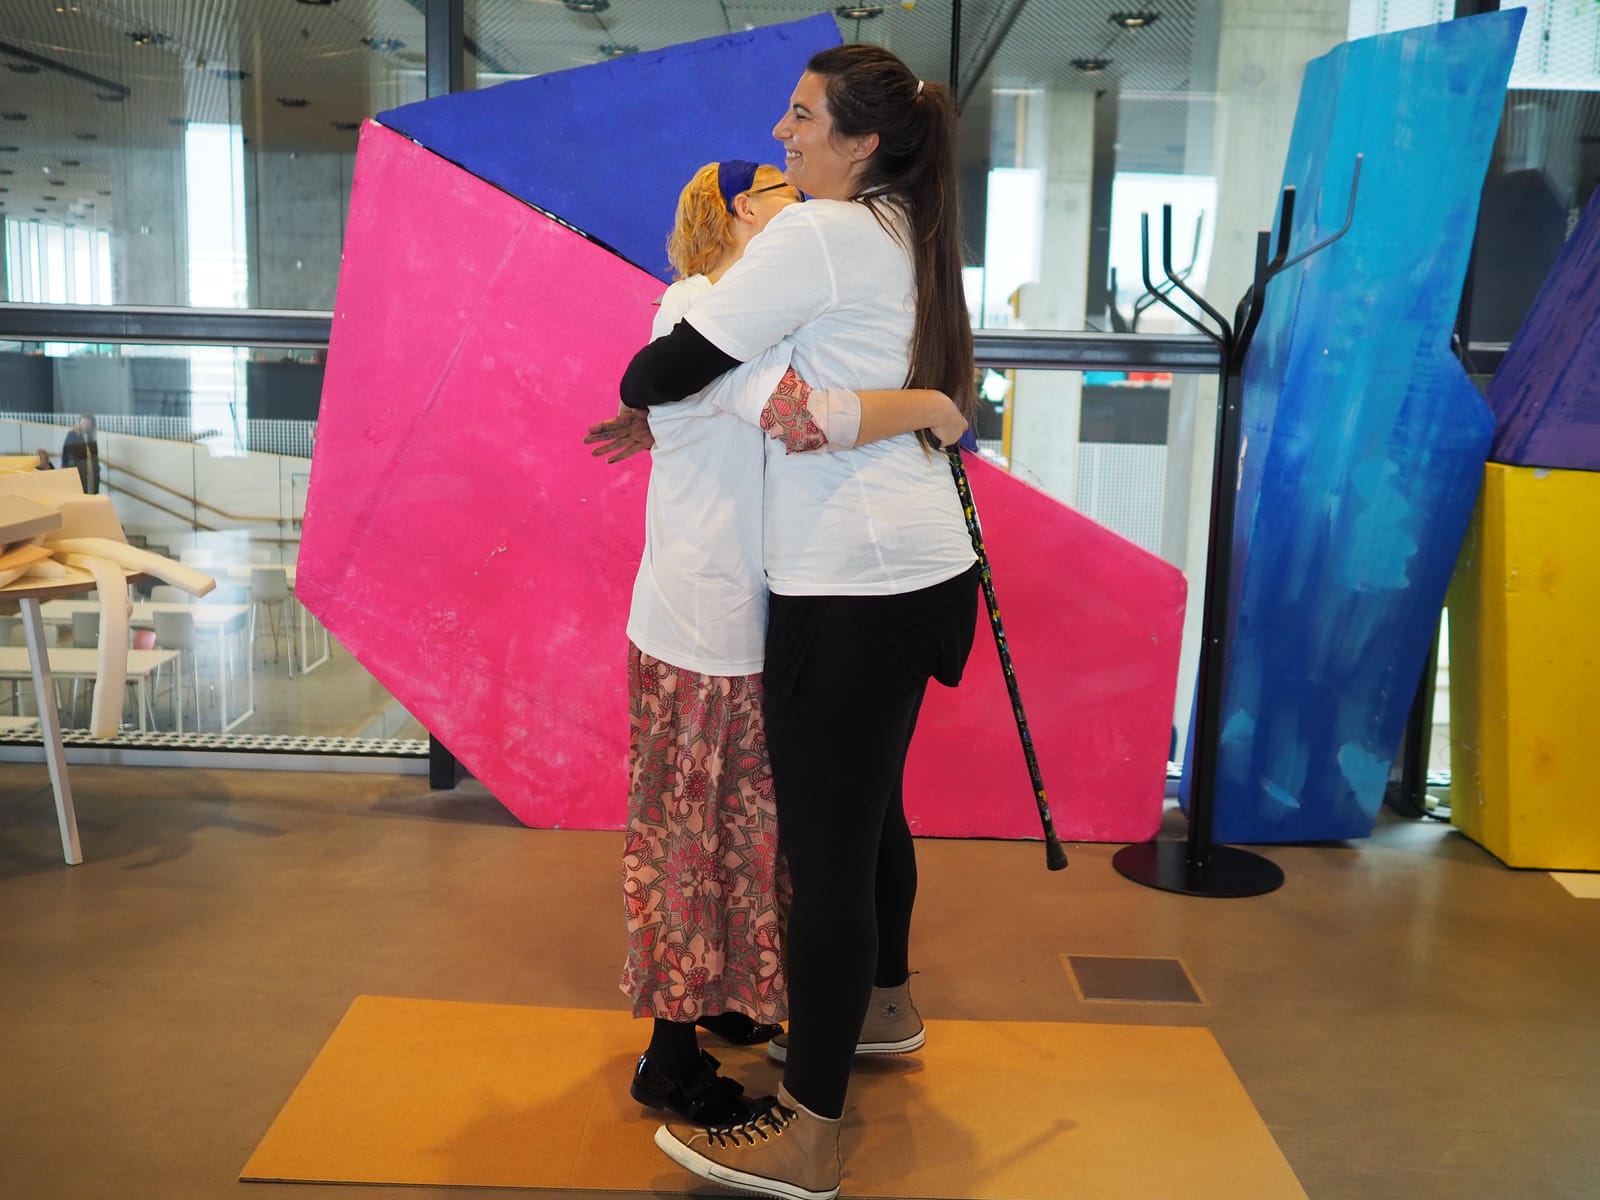
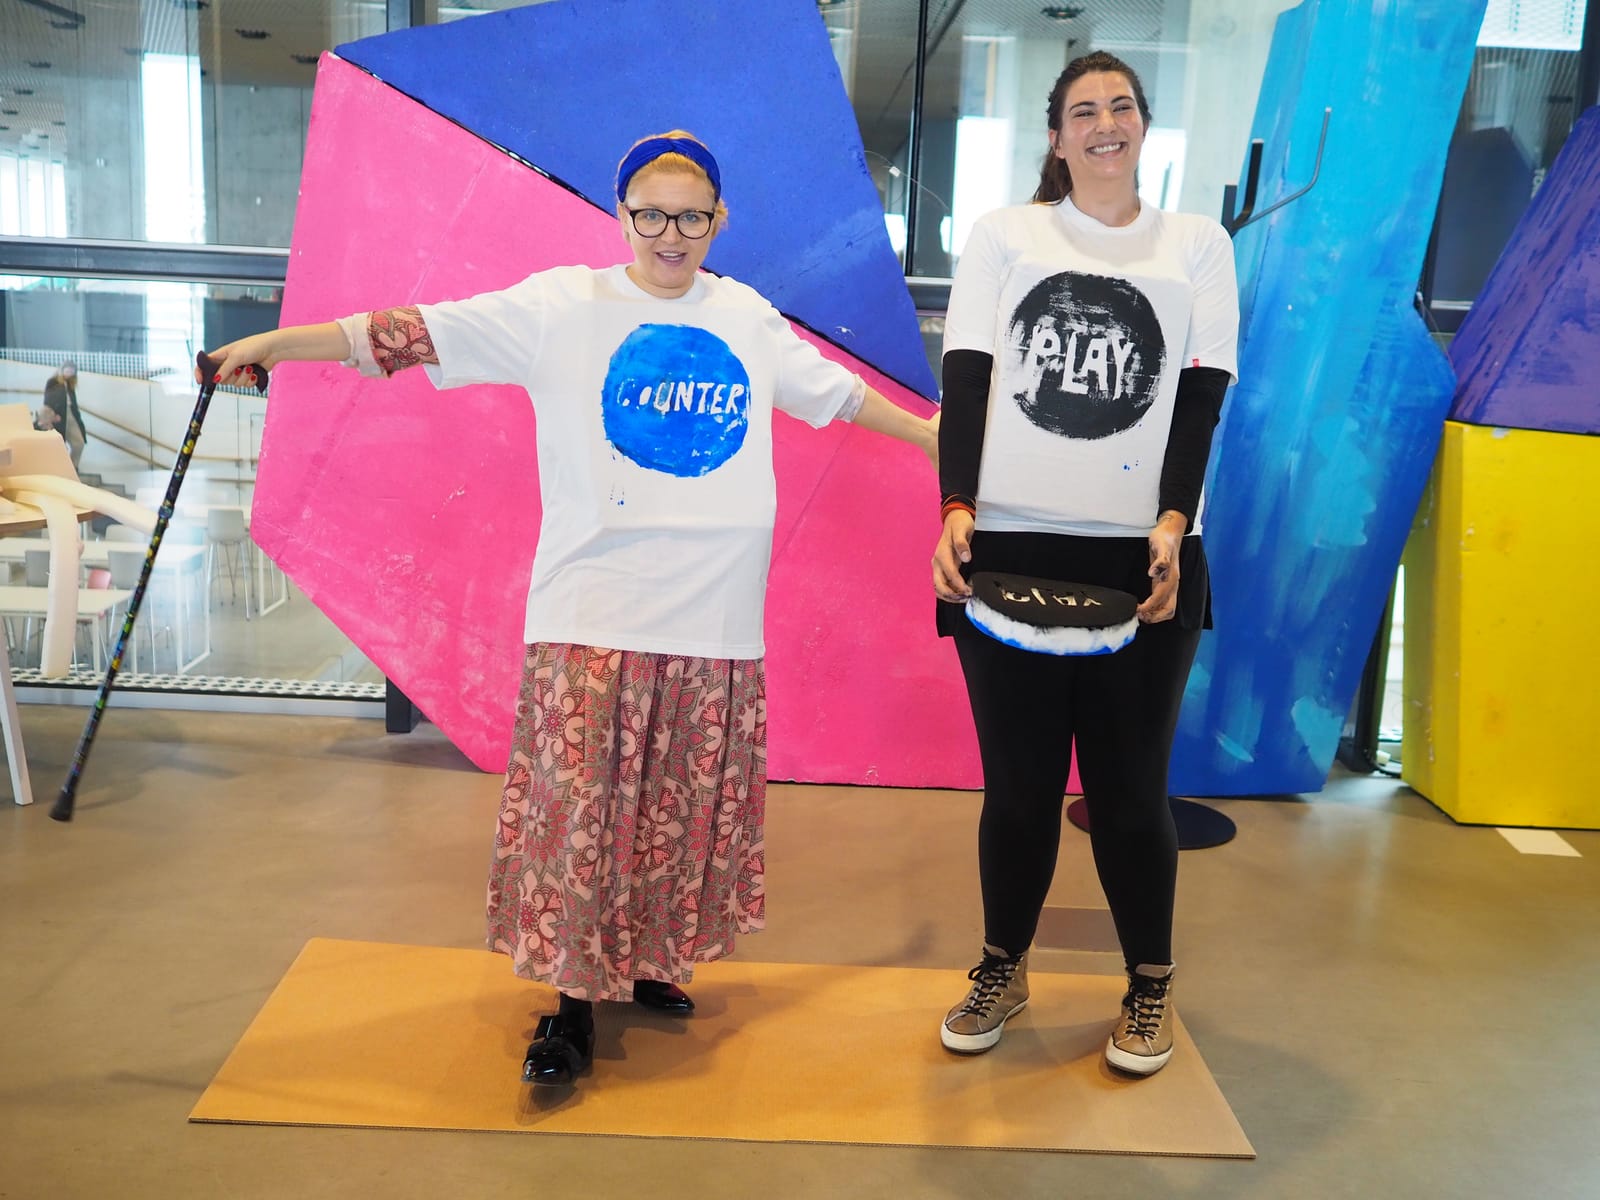
During the event, a unique concept emerged: the creation of a “hug print.” Using foam with the words “counter” and “play” placed on opposite sides, participants discovered that when two people embraced, the pressure would transfer the text onto their t-shirts. This resulted in a playful, interactive print where the simple act of hugging became the “printer.”
Photographs: Alessandré P.
Counter Point workshop at the Counter Play festival · plays from YouTube
2022 · Marseille
OAA
As part of the OAA Festival in Marseille, where art spaces and cultural institutions open their doors to the public for a night of creativity, a spontaneous collaboration took place.
A young visitor, inspired by the works on display, expressed a desire to learn the technique of foam printing. Together, we created an impromptu piece that emerged from the parcours of collaborative works exhibited in Alessandré’s artistic space. This unexpected moment of shared creativity embodied the theme of the festival—where art becomes a living, breathing experience, open to all.
Part I: Tampon / Foam stamping · plays from YouTubePart II: the print made during the OAA festival by AP and a member of the public · plays from YouTube
2023–2026
Various Ateliers
Engaging with young people of the local neighbourhood, who were curious about the artist in our shared atelier space. They had the time and I had the materials, so depending on the season or time of year the theme would reflect the current climate: Halloween, Easter, Ramadan, where there are symbols which reflect the time of year. Other themes have been linked to spaces that also have specific iconography, such as "Dans le jardin / In the Garden" or "Sous la mer / Under the Sea", for example.
For the succeeding Counter Play festival, the foam stamp atelier was on the final day. The intention of the atelier was to reflect on the multiple ideas and games shared during the festival and use the workshop as a space to distil this experience into a singular symbol or shape that "represents play or playfulness".
Participants drew different symbols that represented play, a central theme of the gathering, through the experience of the people’s engagement with this idea as a 2D icon. The stamps were tested first by printing onto A4 or A3 pages to experiment with colour and saturation of the paint medium.
After all the preparation was completed it was finally time to see how these different signs, symbols or signets would communicate when printed collectively onto the same support. In this instance the stamps were printed onto picnic blankets of different fabrics.